>
>
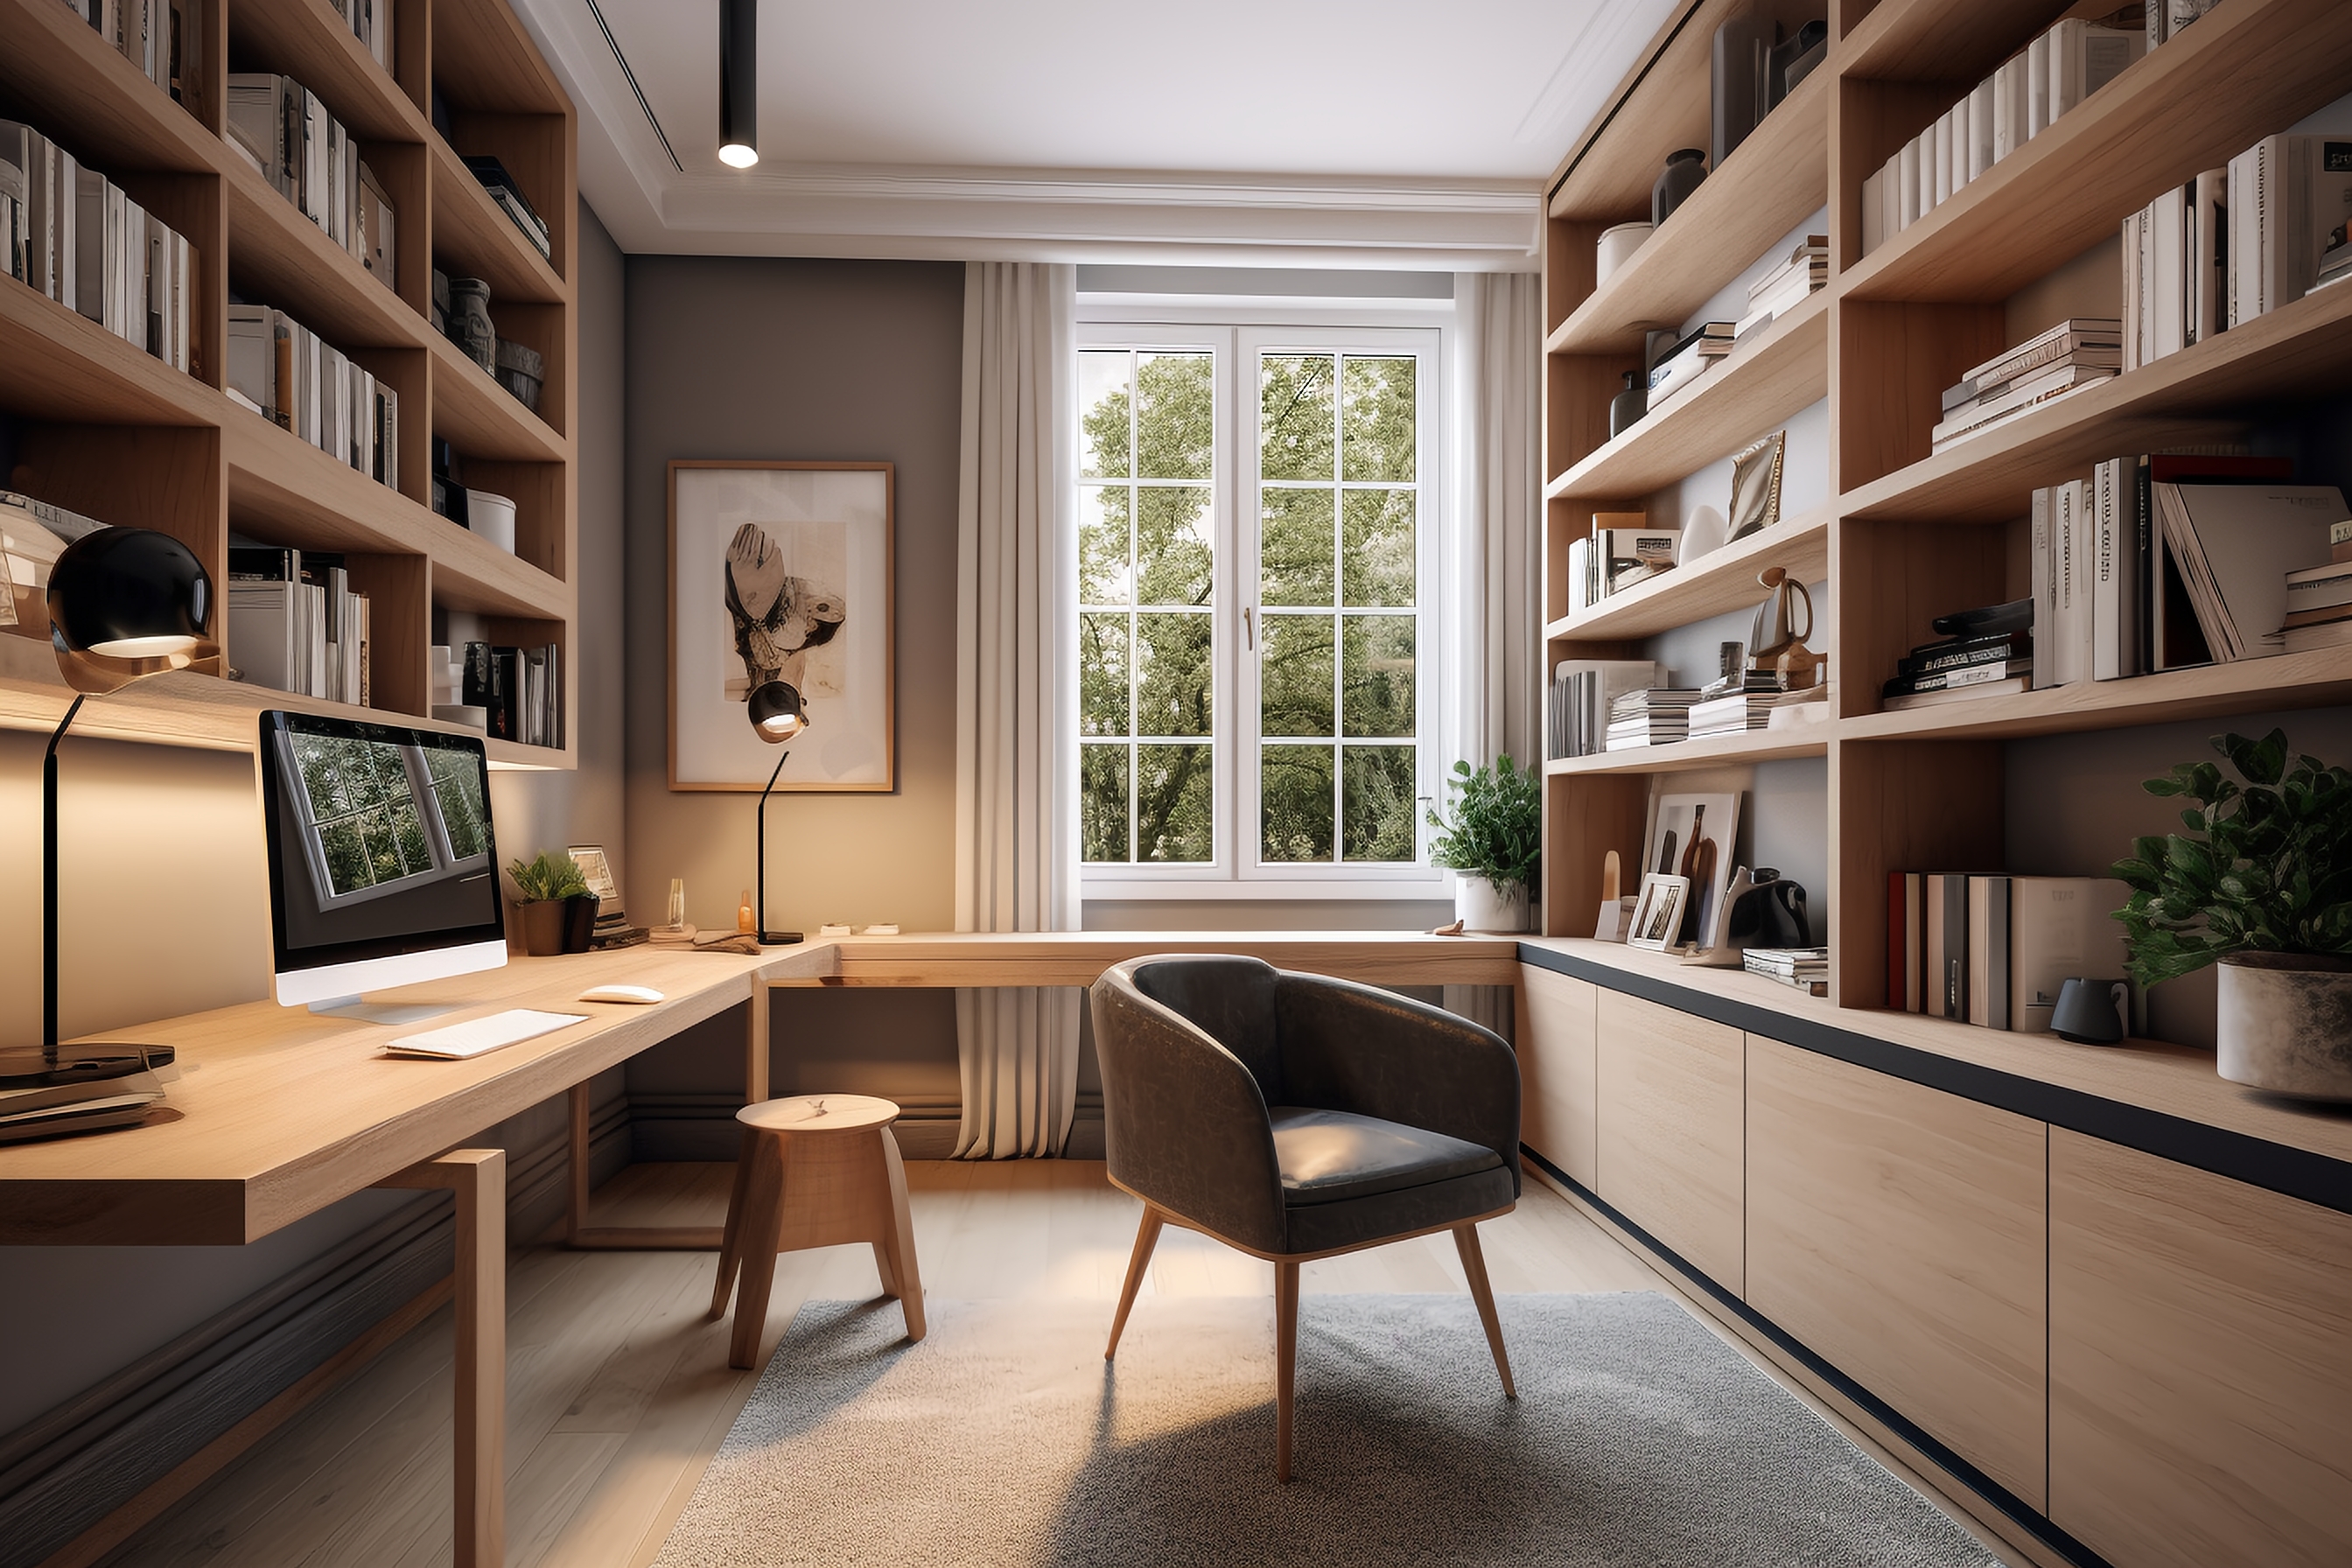

The 5-Step Project Framework
Step 1: Client Site Measurement & Space Assessment
The foundation of any successful wardrobe project is accurate physical dimensions, completed by the client. Structural anomalies like unplumbed walls or uneven floors are common and must be noted early.
- Wall-to-Wall Width: Measure at the top, middle, and bottom. Use the smallest dimension as your baseline.
- Ceiling Height: Check multiple points to identify any structural slopes.
- Obstructions: Map out power outlets, light switches, baseboards, and window trim.

Technical layout blueprints mapping space clearances, framing structural variances, and mapping room constraints.
Step 2: Optimizing Layout & Wardrobe Dimensions
Using your provided measurements, our design team optimizes internal ergonomics. We strictly adhere to proven international standards to maximize everyday usability:
- Overall Depth: Standard external depth for hinged doors is 600mm. For sliding doors, allocate 650mm to 700mm to clear internal tracks.
- Hanging Sections: Double-hanging rails require 1000mm to 1100mm of vertical clearance; long coats and dresses require 1500mm to 1600mm.
- Shelves & Drawers: Maintain widths of 400mm to 450mm for folded clothing. Position drawer banks below 1200mm for natural accessibility.

Architectural chart detailing optimal height zoning, shelf divisions, and ergonomic vertical clearance planning.
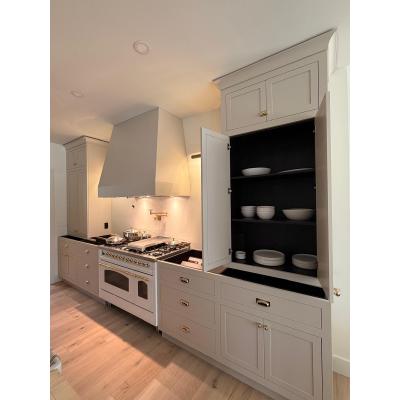
Step 3: Hardware & Material Selection
A premium built-in wardrobe demands structural integrity. Material and hardware choices should always reflect heavy-duty industrial standards:
- Core Substrates: For internal carcase structures, specify high-grade moisture-resistant Particleboard or structural Plywood to guarantee long-term stability and sag resistance.
- The Hardware Standard: Never compromise on moving mechanisms. We specify world-class European hardware systems like Blum for integrated soft-close actions. For budget-optimized projects, top-tier brands like DTC deliver exceptional industrial reliability.

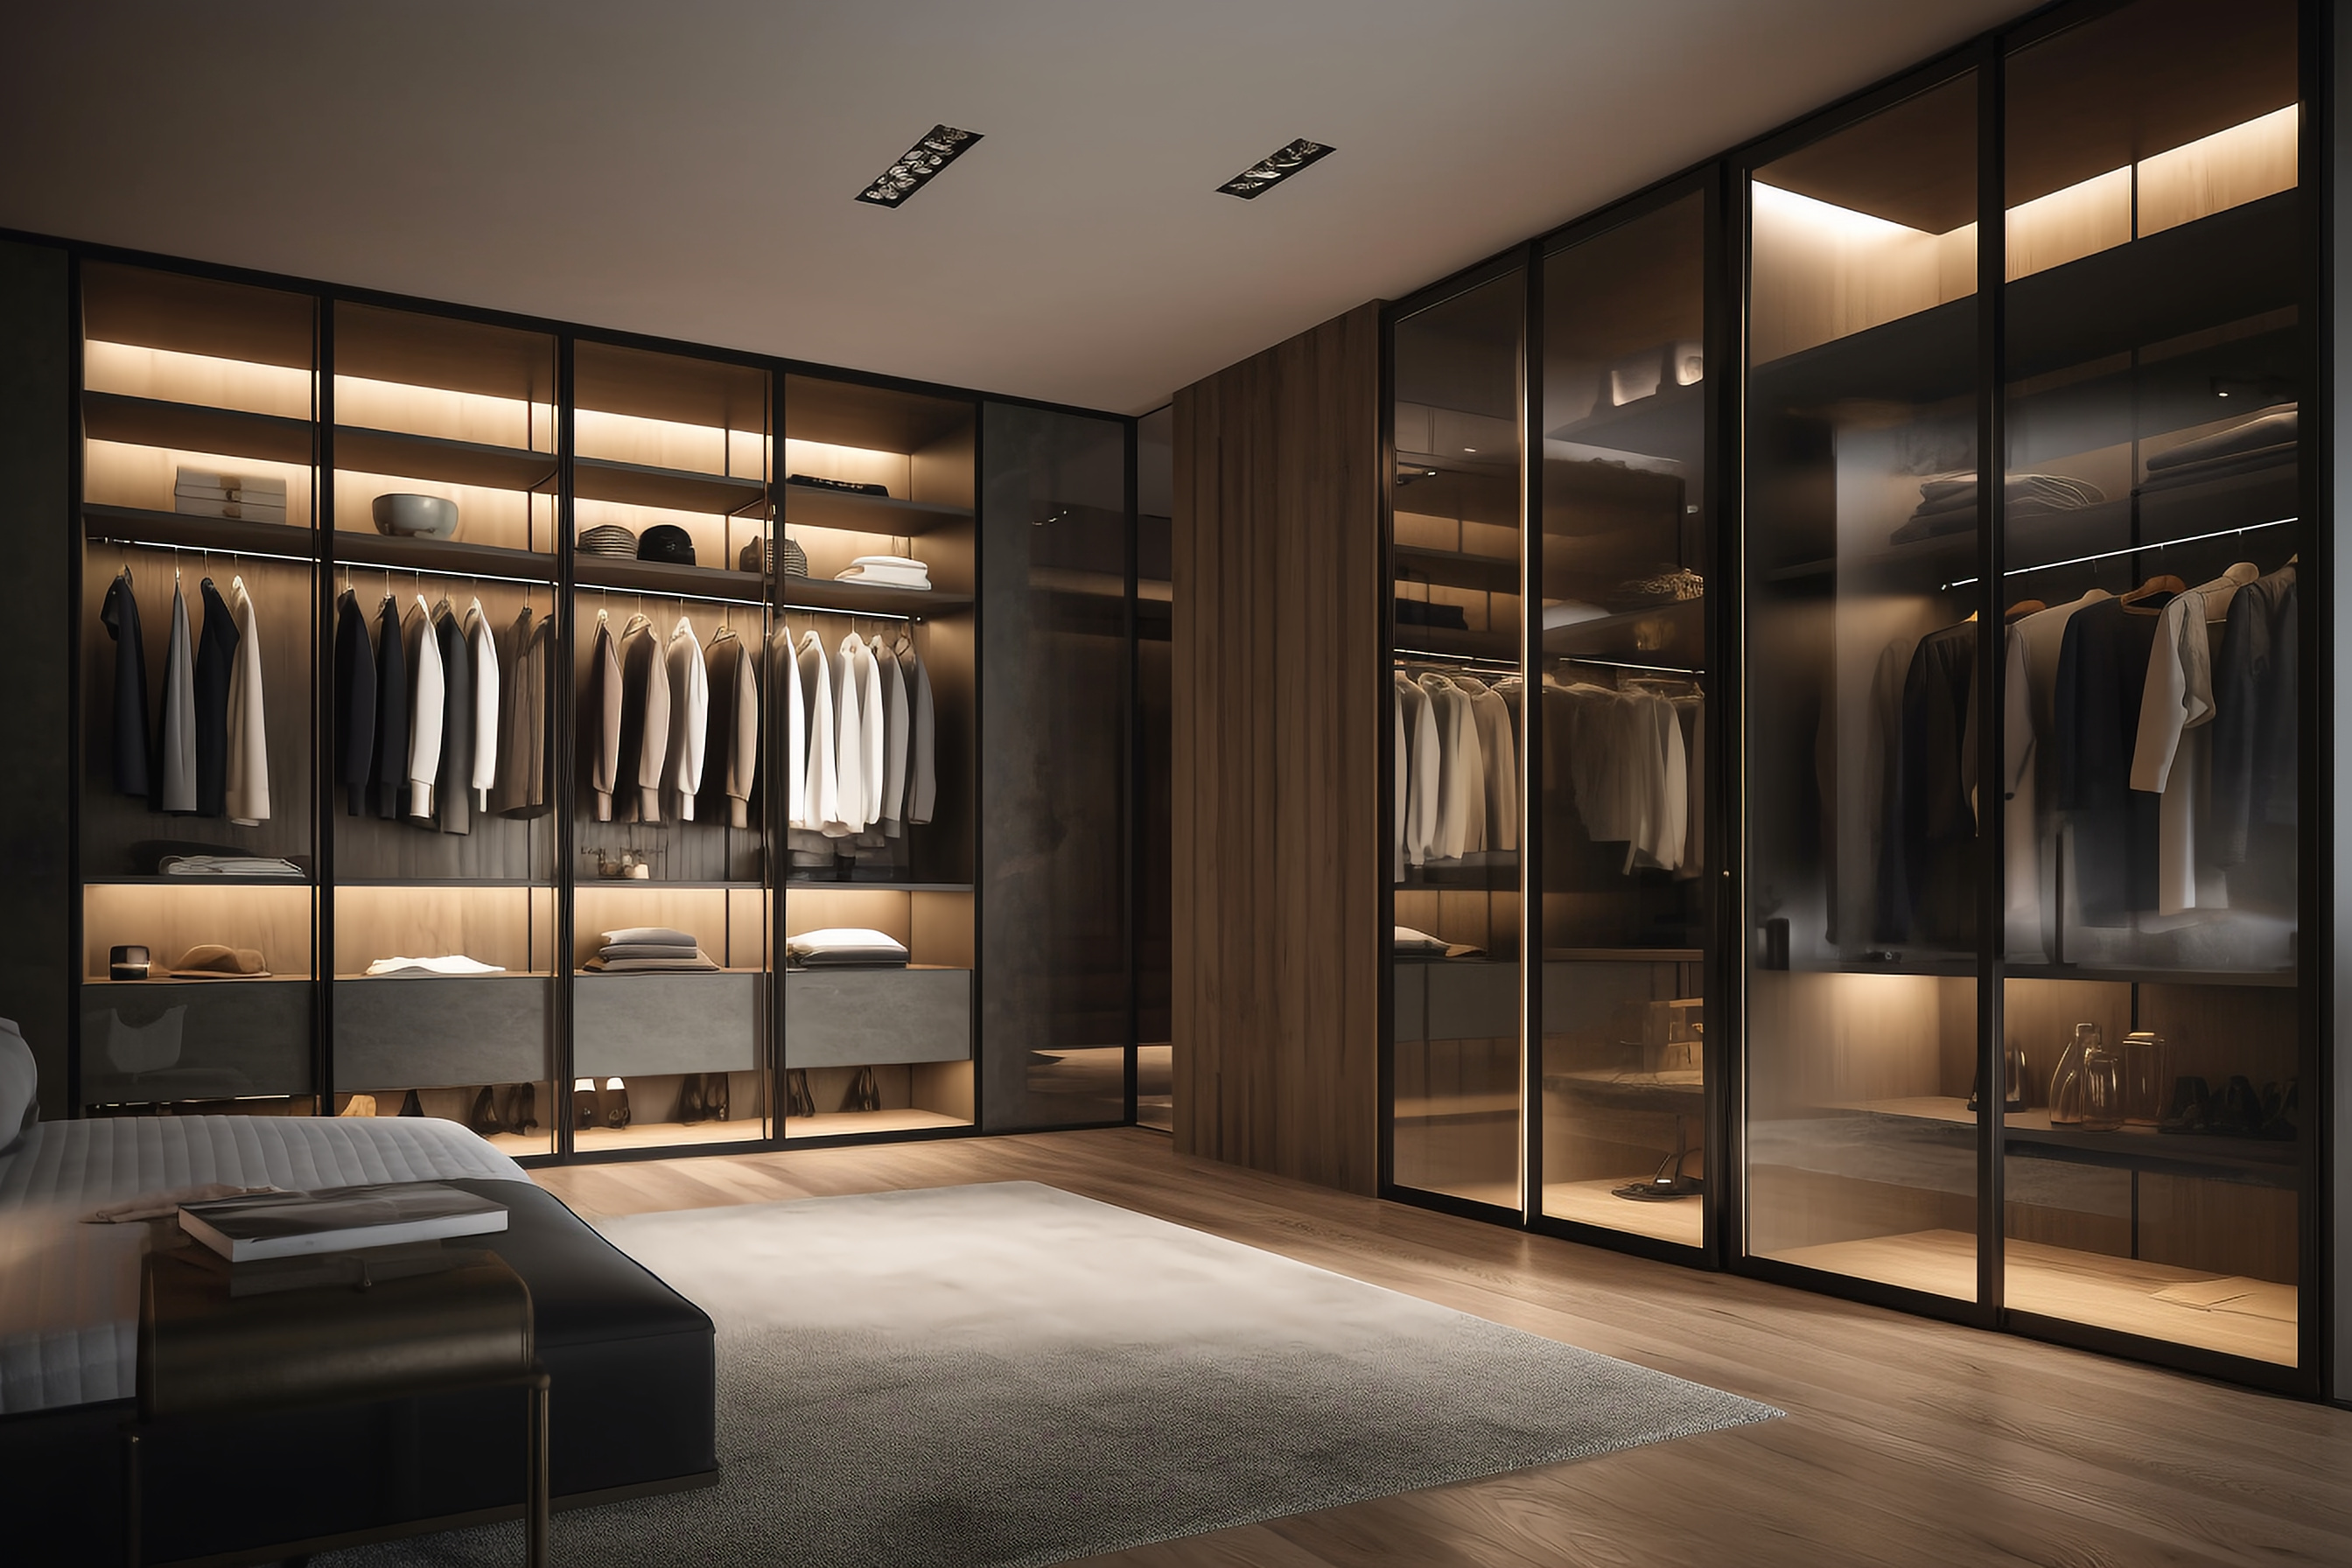
Sophisticated glass-door wardrobe finish showcasing integrated aluminum profile frames and internal showcase aesthetics.
Step 4: 2D Workshop Drawings & Final Sign-off
Before engineering production begins, your approved design concept is translated into highly technical, production-ready 2D workshop drawings detailing every structural joint, edge-band, and hardware positioning.
To guarantee a perfect fit, we require clients to thoroughly review these technical drawings, execute a final cross-check of dimensions on-site, and sign off to confirm absolute accuracy. This precise review loop ensures manufacturing matches your space seamlessly.

Professional 2D shop elevation layout utilized for millwork verification and precise manufacturing tolerances.
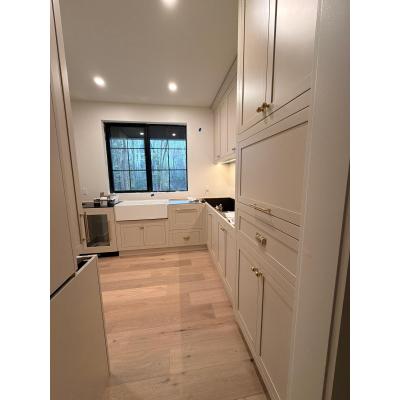
Step 5: Professional Wardrobe Installation
The final step is where technical engineering meets true craftsmanship. Executing a professional wardrobe installation safely involves specific mechanical practices:
- Levelling the Plinth: The kickboard/base must be perfectly level. Installers shim and level this base first, ensuring the columns stacked above remain square.
- Structural Anchoring: Internal carcases are firmly fastened and anchored back into the home's structural wall studs or masonry.
- Wall Scribing: Since residential walls are rarely perfectly straight, filler panels are scribed and cut on-site to flush tight against uneven walls, eliminating shadows and gaps.
- 3D Door Micro-Adjustment: Once units are rigid, hinge adjustment mechanisms are calibrated to deliver uniform, parallel door gaps.